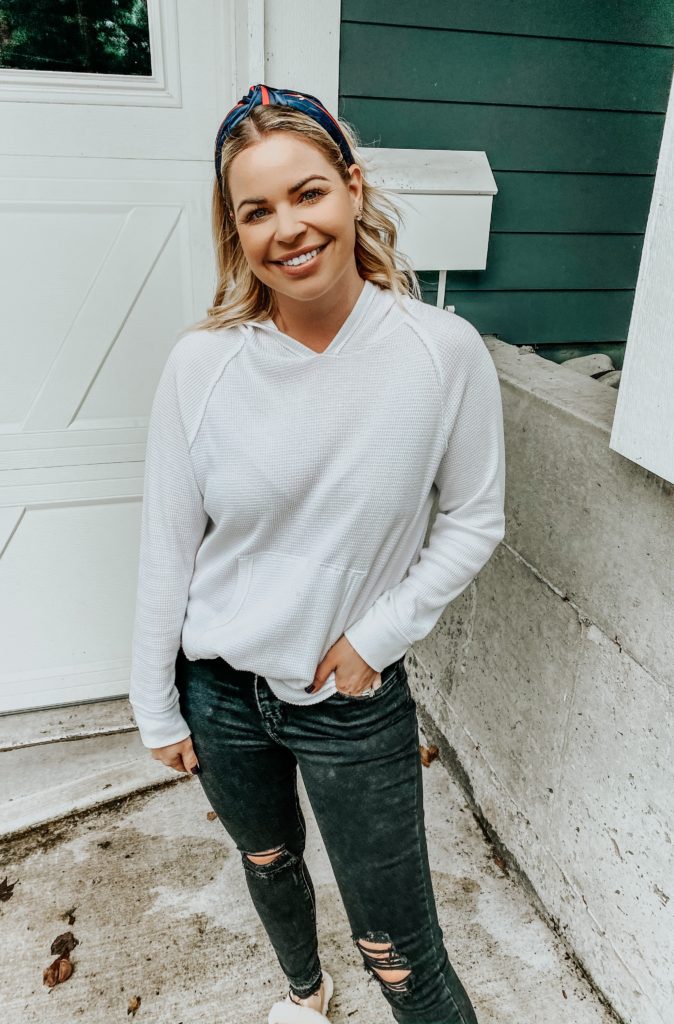
Unless you’re going out for a date night or fancy dinner, I don’t think many of us are putting a full face of makeup on everyday to drop the kids at school. Right?! Who has time for that? Certainly not me. Some days, I leave the house without any makeup at all because #noshame but about 3x a week, I feel the need to slap a little SOMETHING on so I don’t scare small children (insert zombie emoji here). Below are the steps I apply for my 5 minute makeup routine and the products I come back to again and again.
Step 1: Prime
There are a few colors to choose from and I use the universal primer with occasional dryness because that fits my skin. This brand also has a primer for very dry skin, for redness, and for fine lines. Choose the one that fits your description best. I found this primer by watching Makeup YouTube videos years ago and have bought it over and over again. It’s hydrating and makes my foundation/CC cream go on without any issues.
Step 2: BB Cream (Foundation)
I don’t need full coverage foundation during the day and prefer something lighter on my skin. BB and CC creams with SPF have taken the foundation game by storm and while they are lightweight, they provide the perfect amount of coverage during the day. I apply it with a DAMP beauty blender (key here is that it is damp!) so that the extra foundation absorbs into the beauty blender instead of my skin.
Step 3: Concealer
I have a couple of concealers that I really love but this one is my go-to at the moment. I always get a shade lighter than my foundation to brighten up my under-eye area and use the same damp beauty blender to apply. I typically put my concealer underneath my eyes, between my eyebrows and on my chin and blend.
Step 4: Loose Setting Powder
This translucent setting powder sets your concealer and brightens up your entire face. Because I put concealer under my eyes, I need to set that makeup so my mascara or any other products don’t run or smudge. I got this powder a couple years back after watching those same makeup Youtube tutorials and it’s just the perfect combination of coverage and a lightweight feel. You won’t feel caked on.. ya know?! Very important.
Who else overplucked in high school? Same, girl. Same. And that hair has never grown back so Anastasia Brow Definer to the rescue. Anastasia is THE brand for brows. Legit, it shocks me when people use anything other than Anastasia.. it’s what the company is founded on and Anastasia herself is the brow WIZARD. Wouldn’t trust any other product… for real. I like the Brow Wiz tool as well but when I discovered the Definer, I preferred the larger applicator versus the Wiz. Both amazing products, I just prefer one of the other.
Lashes are next and while I have a few mascaras I rotate, DiorShow is hands down the best.. it’s just on the pricier side. But it seriously grows your lashes by 200%, doesn’t clump or run. It’s worth every penny in my opinion.
Step 6: Bronze/Blush and Highlight
Lastly, I take my NARS dual bronzer/blush palette and bronze my cheekbones and temples. I put on a light layer of blush on my cheeks and finish with CHAMPAGNE POP (duh) highlight on my cheek bones, down the center of my nose, and at the peak of my lips. Highlighter brightens your entire face and makes you GLISTEN.. like you just went on a tropical vacation glow. Naturally, I found a highlighter called champagne pop and have never used anything else since.
Throw on some chapstick, your Lineage lip mask, or a pretty neutral gloss (I own these in every color and leave them on my vanity and in my car) and you’re good to go!

There you have it.. my quick and dirty 6 step, 5 minute makeup routine that anyone could pull off and feel put together 7 days a week 😉
xx, H
