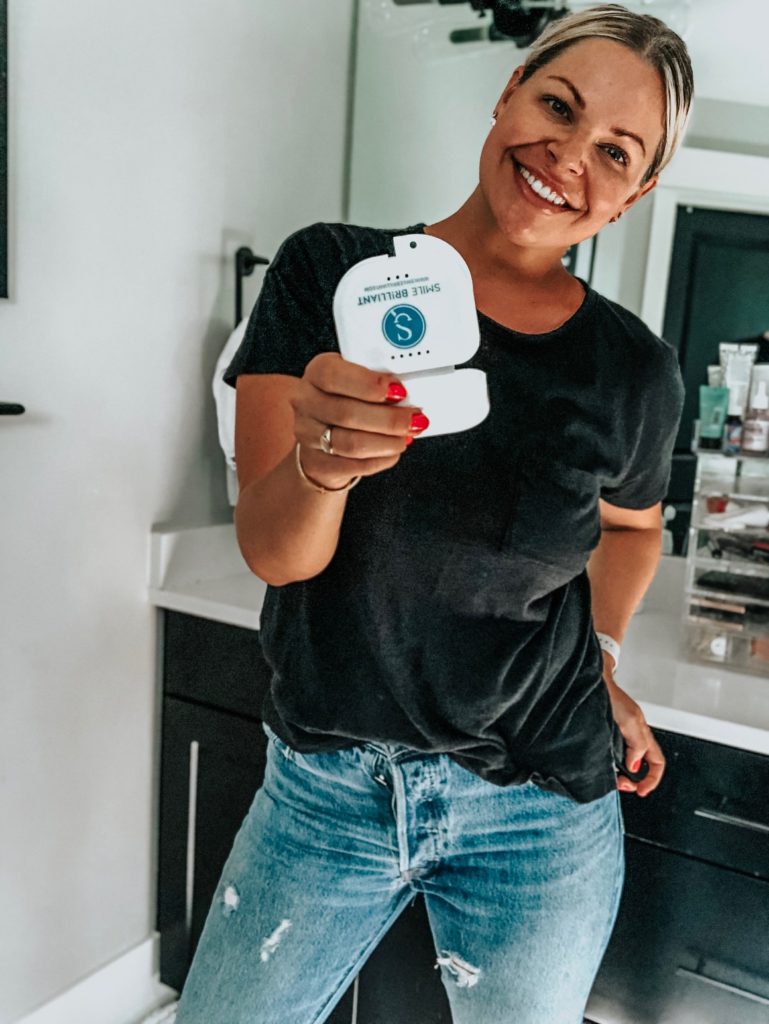
If someone asks me what my favorite feature is, I would typically respond with, “My smile!” Why? For starters, I had two rounds of braces as a kid, retainers, and I have spent countless dollars on in-office whitening treatments and Crest White Strips. However, over the past few years I have slacked on my smile game. I have three kids so I drink 2-3 cups of coffee a day and end the night with 2 or 3 glasses of red wine 😉 Don’t judge. In addition to this, I have stopped any form of whitening because my teeth are EXTREMELY sensitive to the formulas on the market. Crest White Strips work but they leave my teeth feeling like I’m biting into an ice cream cone the rest of the day. OUCH. They are also pretty uncomfortable to wear and slip off. I have also done in-office whitening treatments but they are so expensive and I just don’t see the results I want for a $500 treatment! SO… when Smile Brilliant reached out to us and explained their philosophy on their at-home, professional teeth whitening system and spoke to us about their sensitive formulas, I was intrigued.
Sensitivity is common with any teeth whitening system, which is why I opted for Smile Brilliant’s Sensitive Whitening System. The desensitizing gel included is a post-whitening treatment that helps reduce if not eliminate temporary tooth sensitivity caused by whitening. It also helps close the pores on your teeth faster which helps prevent restaining.

Here’s how Smile Brilliant works:
First, you choose between “sensitive” and “non-sensitive” and elect the system right for you – do you have heavy, moderate or light stains? For reference, I chose the Sensitive T6 system (moderate stains), which comes with a set of upper and lower trays and 18 gel applications. The cost for the average stain system is $175 (again, this would be over $500 if you got it from a dentist’s office).
I received my Smile Brilliant package in the mail and I was SO intimated to make my own impressions. However, the packaging comes with VERY SPECIFIC instructions on how to create your molds and they even give you extra materials in case you mess up (Alix did.. and she’ll be outlining her experience in a separate post!). I have had molds made in a dentist office before so I had a pretty good idea about how and where they should be placed in my mouth.. but again, the instructions are so specific that it’s pretty fool proof. I shipped my molds off to the lab and voila, within a week I had my trays arrive on my doorstep and ready for use!
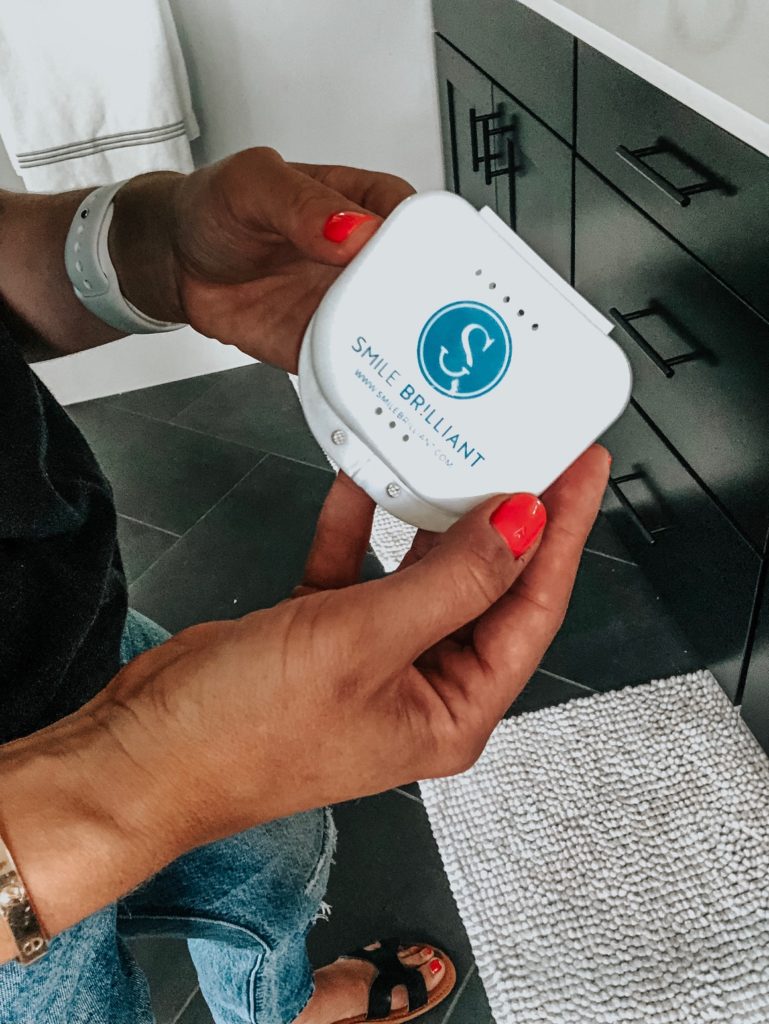
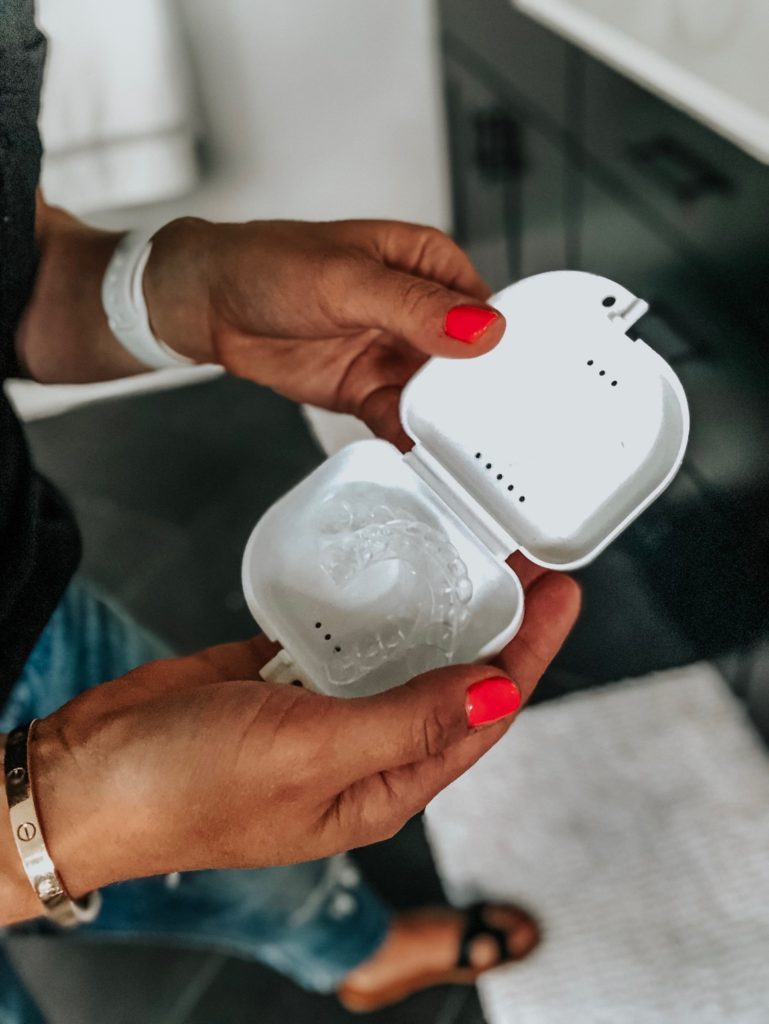
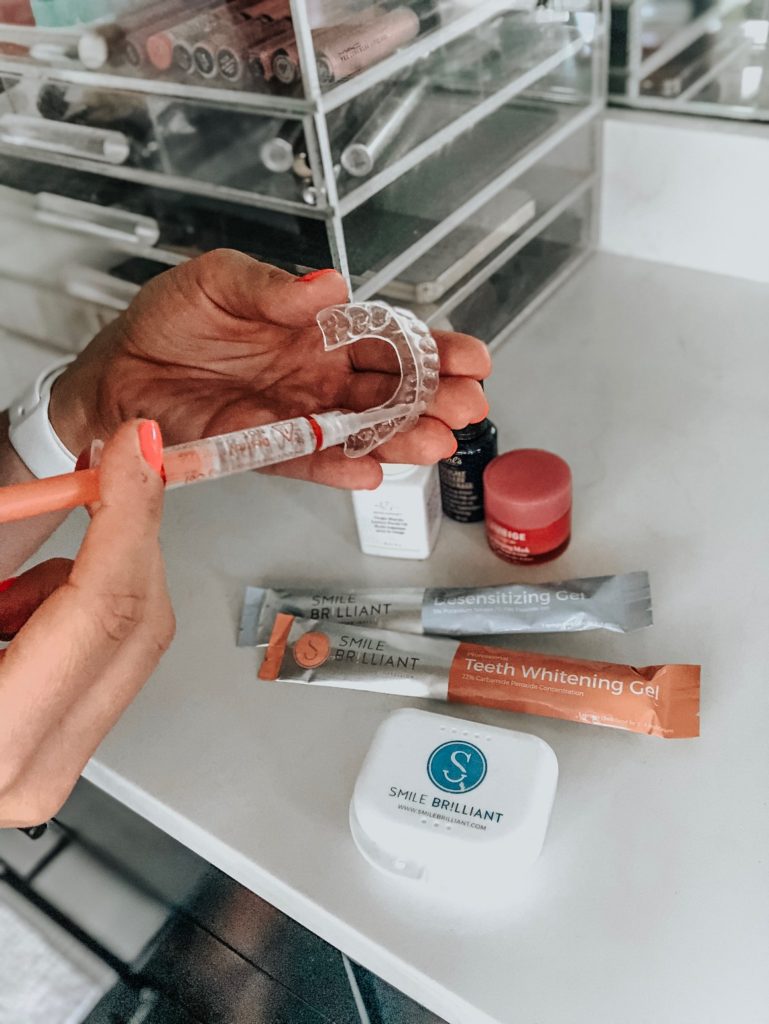
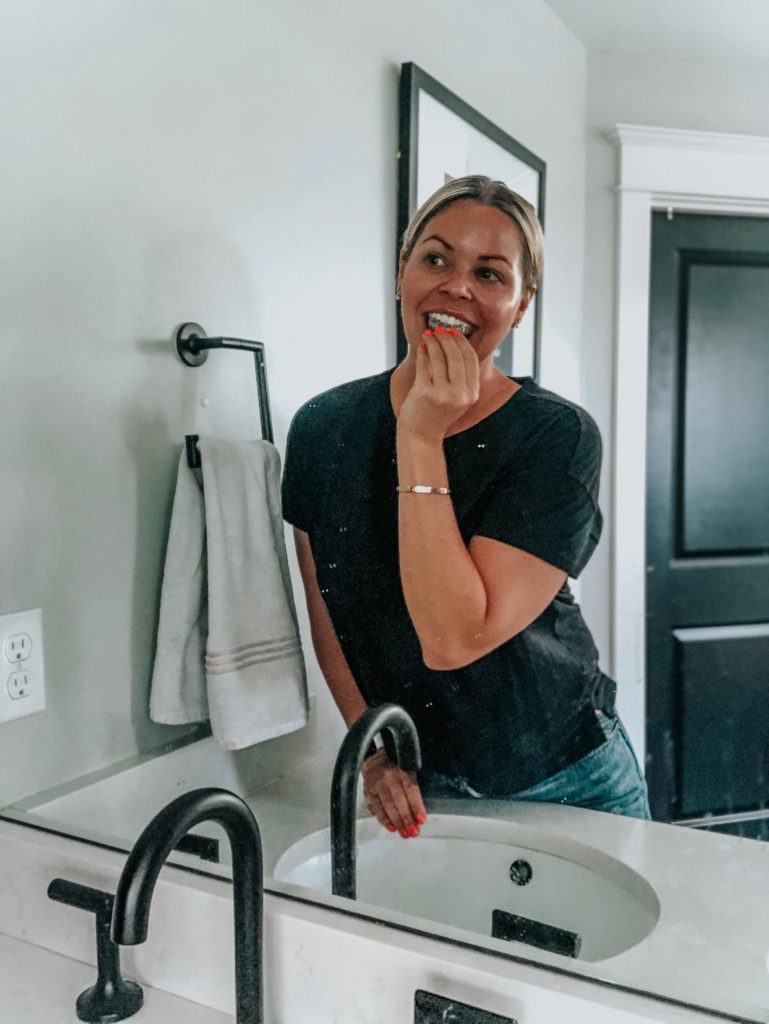
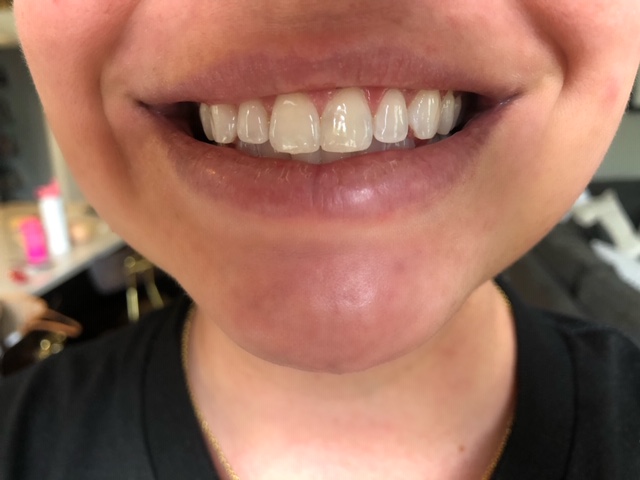
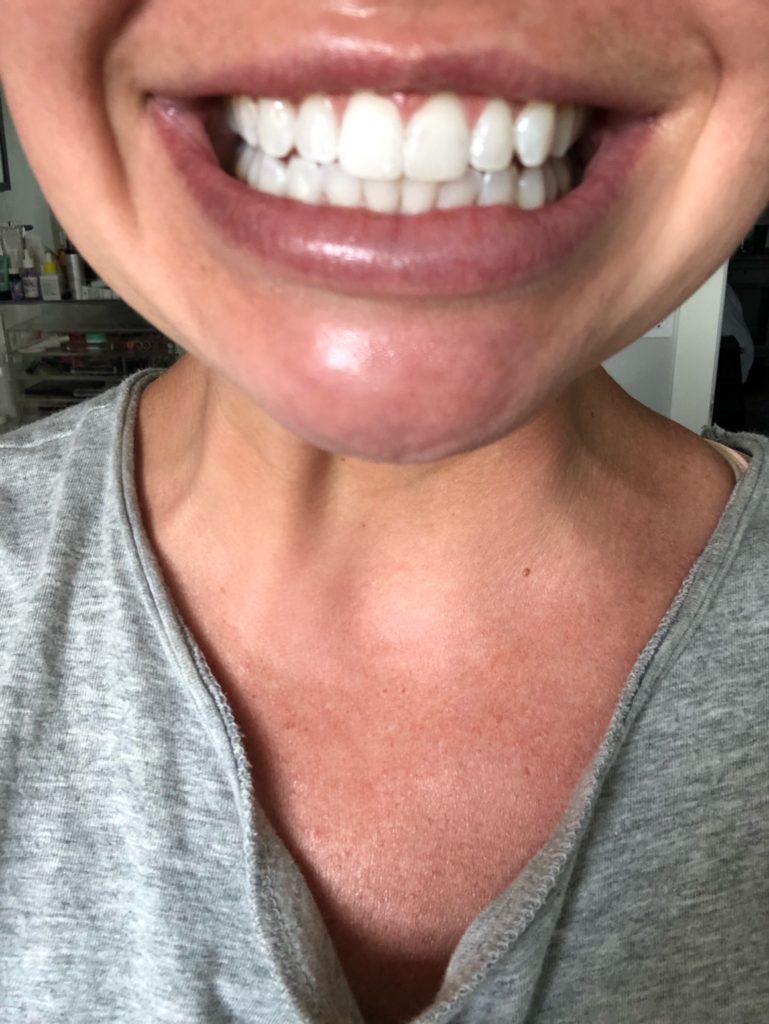
Over the course of the last two weeks, I have been whitening my teeth pretty much every single day. In the past, I would have NEVER been able to whiten two days in a row because my teeth would be in extreme pain. After every use of my whitening gel, I’d apply the desensitizing gel for 20 minutes and I had ZERO sensitivity issues.. NOT KIDDING! This stuff works miracles. I will say that the first time I used the whitening gel, I could feel it working on my teeth. It wasn’t uncomfortable but it made me nervous that the second I took it off, my teeth would hurt. But after applying the sensitive gel, my teeth felt completely normal. I can’t stress enough what a game-changer the desensitizing gel system is.. it just works. So if you’re like me and have sensitive teeth or cringe at the thought of a whitening system, try Smile Brilliant. I am so happy with my results and I will continue using this system to maintain my confidence in my smile. After all, it’s your best feature 🙂
Before and After Pics:
If you have any questions about my experience, please ask! I am more than happy to answer them. Also, check out this article about the 7 things you should know before purchasing your whitening system!
GIVEAWAY: If you would like to win a FREE Smile Brilliant Teeth Whitening kit you can enter by clicking this link:
www.smilebrilliant.com/g/heatherwooldridge
15% off store wide code: heatherwooldridge15
xx, H